

Introduction
Table Fans are always useful in the summer season, so in today’s article, we will teach you how to make a DIY Revolving Table Fan. Let us quickly begin.
Supplies
Let us look at the supplies required to make a DIY revolving table fan.
Tools
- Scale
- Scissors
- Masking Tape
- Cutter
- Spray Paint
- Hand Saw
Materials
- Pencils or Sketch Pens
- Plastic Bottle
- 12 V DC Gear Motor
- 12 V DC Motor
- Copper Wire
- Joystick Switch
- Batteries
- Iron Rod
- Paper
- Clay
- Two Servo Motors
Steps To Make A DIY Revolving Table Fan
Step 1: The first step is to cover the bottleneck with the help of Masking tape.
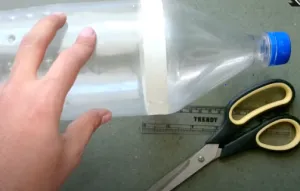
Covering the Bottle Neck with Tape
Step 2: Now, remove the masking tape and do the markings on them.
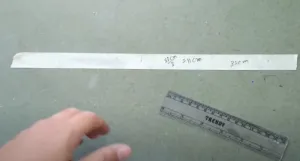
Removing and doing Markings
Step 3: Measure and cut 33 cm of the masking tape and then place it on the bottle.
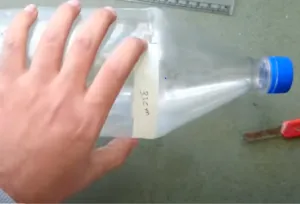
Measuring and Placing the Tape on the Bottle
Step 4: Trace a triangular shape from the edges of the tape to the bottleneck. Once again, repeat this step on the other side.
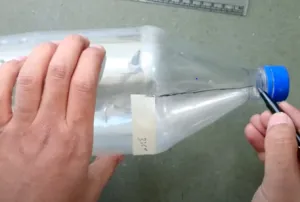
Tracing the Triangles
Step 5: The next step is to cut the top section of the bottle.
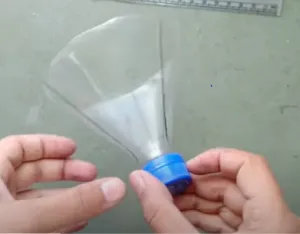
Cutting the Top section of the Bottle
Step 6: Take a paper and cut it in the following manner.
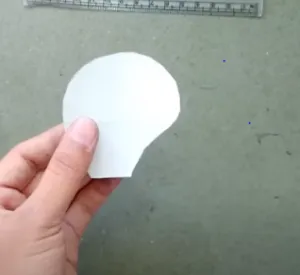
Cutting the Paper
Step 7: The next step is to trace the design on all sides of the bottle head.
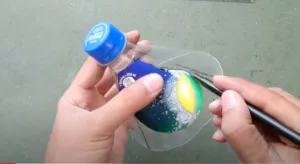
Tracing the Design
Step 8: Cut the bottle and make it into a fan. While cutting the cut, the fan also cut the head on the bottle.
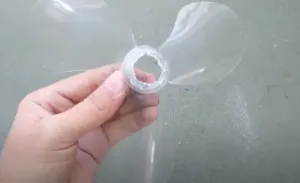
Making Fan
Step 9: Apply a coat of paint to the fan.

Applying Paint on Blades
Step 10: Take the servo motor to apply some clay on its pointed shaft and fix it with the fan.
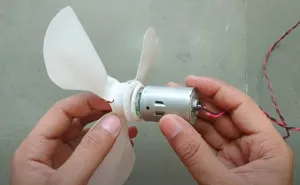
Fixing the Motor
Step 11: Cut the lower side of the sketch pen with the hand saw.
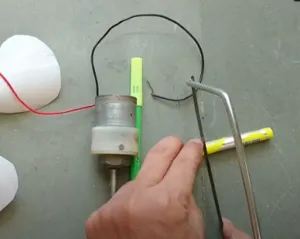
Cutting the Sketch Pen
Step 12: Stick the trimmed lower sketch pen section on the servo motor in the following manner.
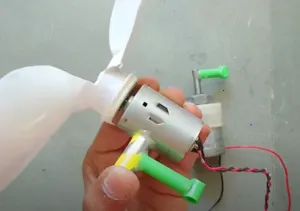
Fixing the Sketch Pen
Step 13: Simultaneously, connect another trimmed sketch pen to another servo motor.
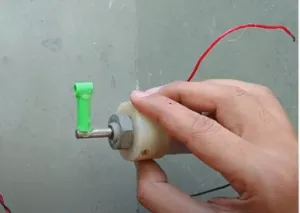
Connecting the Trimmed Sketch Pen
Step 14: Take a wooden board and spray a coat of paint on it.
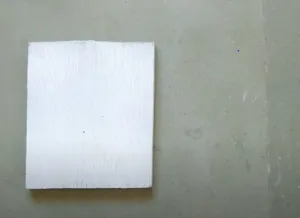
Painting the Wooden Board
Step 15: Take some pencils and stick them together. Once they are attached, stick them on the wooden base as a pillar.
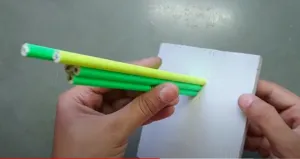
Making a Pillar
Step 16: Simultaneously, repeat this step, make a smaller stand and stick it next to the big stand. Once you stick them gently, fix all the apparatus over them.
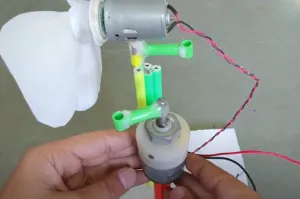
Making a Small Stand and fixing the Apparatus
Step 17: Now, take a small copper rod and it with two ends.
Connecting the Two Ends with Copper Rod
Step 18: Collect some iron rods and stick them closely on a circular sheet.
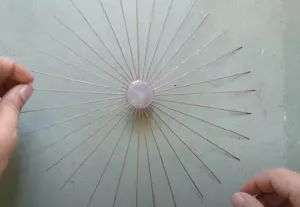
Arranging Iron Rods in Circular Manner
Step 19: Bend the iron rods and make them like a fan shape.
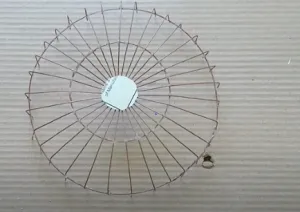
Making a Fan
Step 20: Gently fix the blades inside the cover.
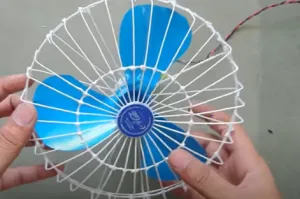
Fixing the Blades in the Fan
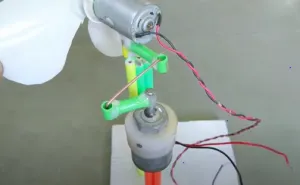
Step 21: Connect the wires with the battery and joystick switch.
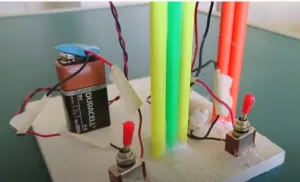
Connections
Step 22: The last step is to turn on the power source and joystick switch
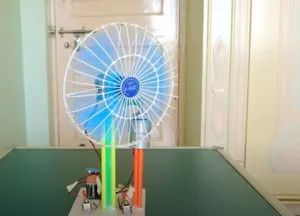
DIY Revolving Tabel Fan
Recommendation
- You can colour the pain according to your imagination.
Things To Remember
- Make sure you appropriately connect all the connections.